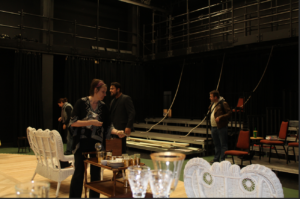
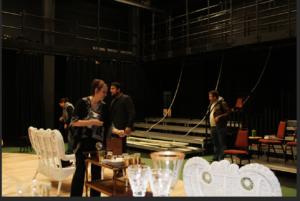
Sometimes your photos will have areas that are too light or too dark, resulting in lost details. Photoshop offers two tools, dodge and burn, which essentially allow you to “expose” parts of the photo to less or more light.
Remember to keep in mind the National Press Photographers Association’s Code of Ethics — as journalists, you are limited in the changes you can make to photos. You can try and compensate for unclear details in the photo, but you can’t change what is there. Using the burn tool to lessen glare from a window is one thing. Using the burn tool to make sure a person isn’t visible is another.
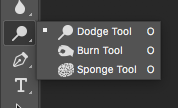
- Open your photo in photoshop and ID the problem areas. If the entire photo is too dark or too light, you may want to consider toning the photo instead. If the image is too dark, select the dodge tool. If it’s too light, select the burn tool.
- These tools work exactly like the paintbrush tool. You can adjust the size/shape of the brush through the panel options in the tool bar.
![]()
2. Paint over the area you want to change using the selected tool. It might take a couple passes to get the effect you want — just be sure not to overdo it. Use your best judgment.
Some examples are below. The changes are subtle, and note that in both cases there are some details that are just gone, mostly in the backgrounds that are either too light or too dark.
Burn example
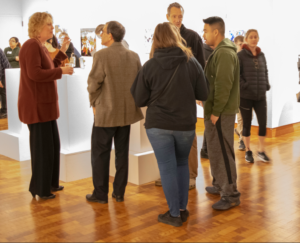
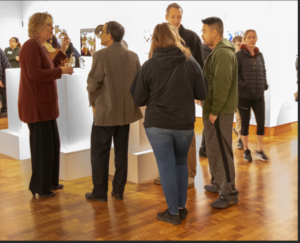
Dodge example
