Usually The Collegian will crop photos on the page in InDesign, leaving the original file intact. Sometimes, though, you’ll need to crop a photo on its own, for use on deltacollegian.net or in some other project.
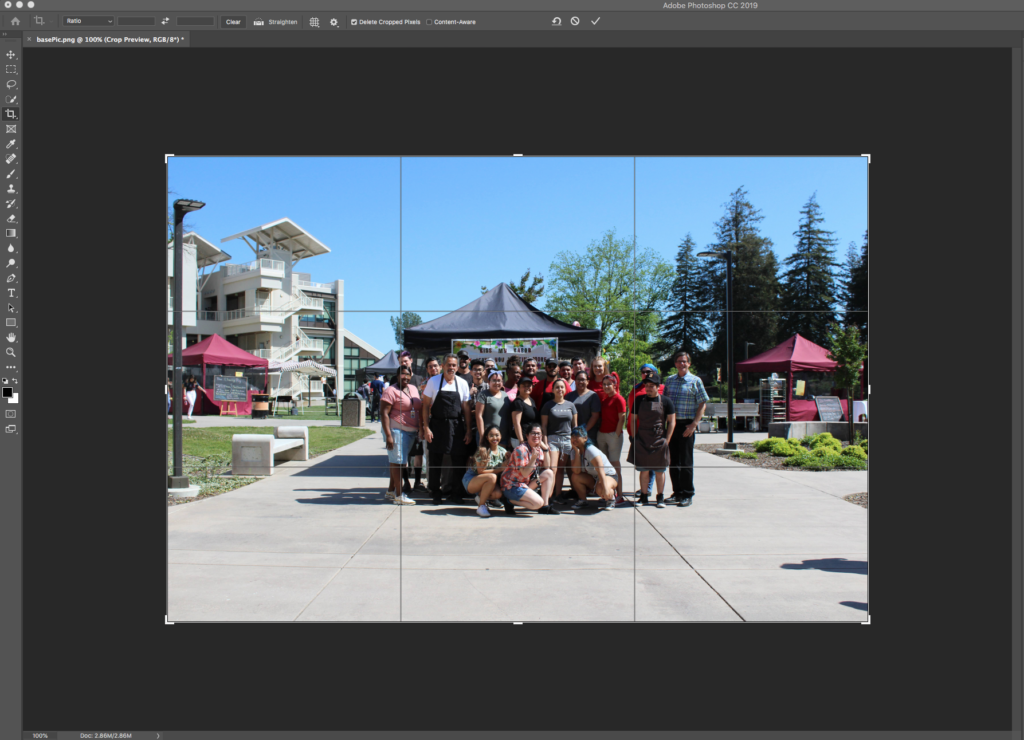
- With the photo open in Photoshop, select the Crop Tool to bring up the cropping interface.

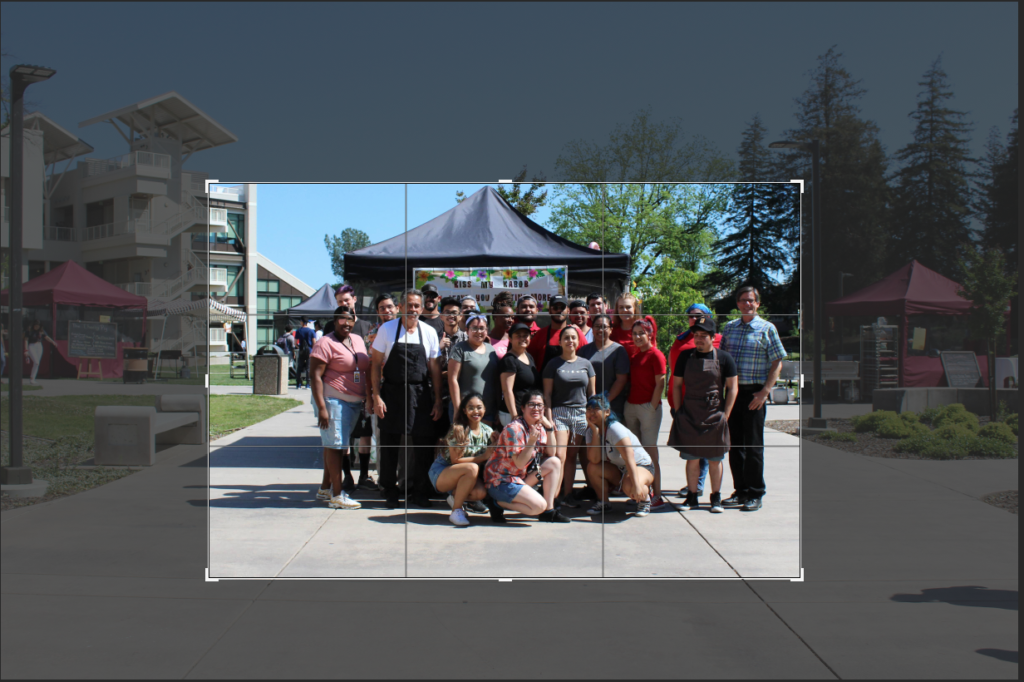
- Use the crop tool to draw a box around the part of the image you want, as seen above. Make sure you don’t crop out any significant details or change the “meaning” of the photo in any way. This box can be resized and moved as needed before you finalize your crop.
- You can also enter dimensions in the crop tool textbox to get a specific final size for your crop.
![]()
- Click the checkmark in the crop toolbar or press enter to finish.
- File > Save As to save your changes. Make sure to use the SAVE AS command to preserve the original file.