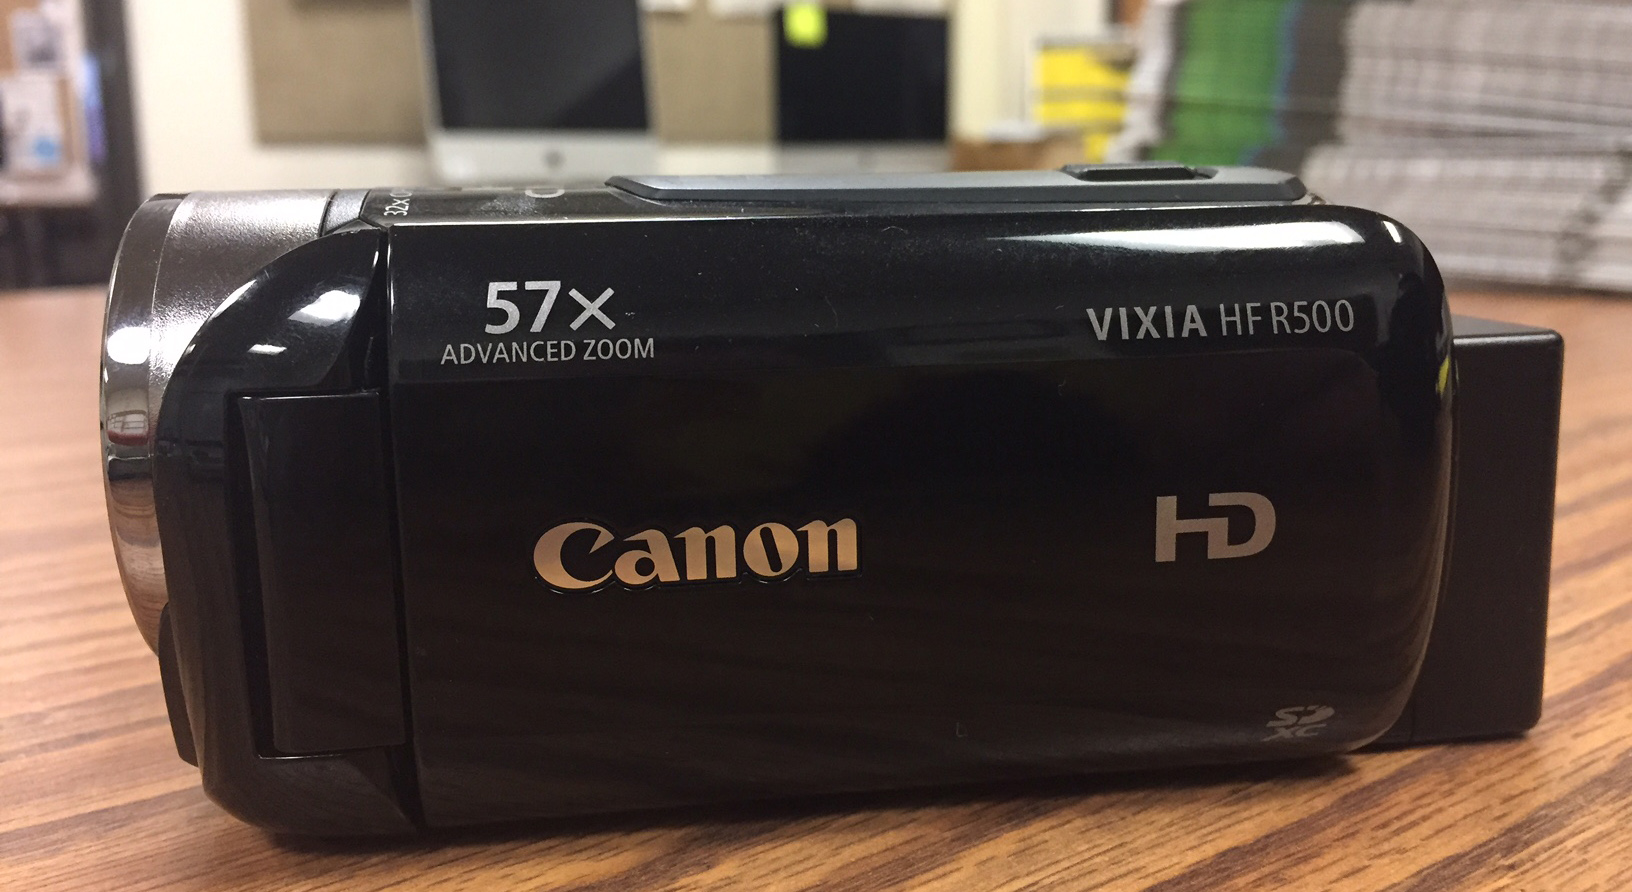
MCOM 10 students have access to Canon Vixia cameras. These cameras are consumer-level products and are easy to use.
For the most part, working the Camera is self explanatory, but this page serves as quick-start guide to get shooting.
Please remember to respect the equipment, keep track of all the pieces in your rented kit and make sure you return everything to the instructor.
Lens cap
The lens cap is located on the left-hand side of the lens. It was be switched into the up or down mode.
You should receive the camera with the lens closed. Please close the lens before you return the camera to the bag.
OPEN
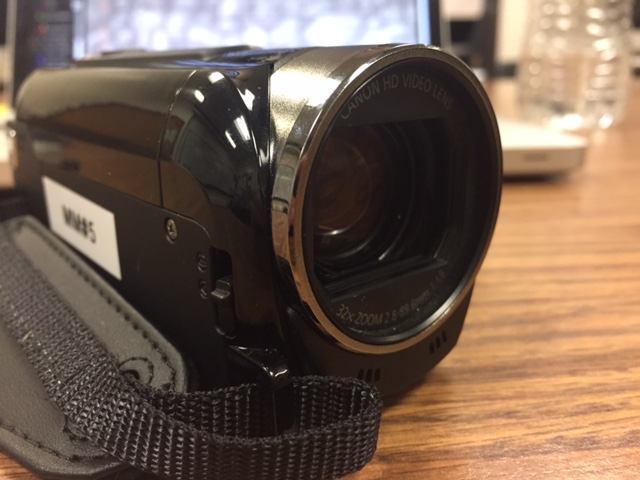
CLOSED

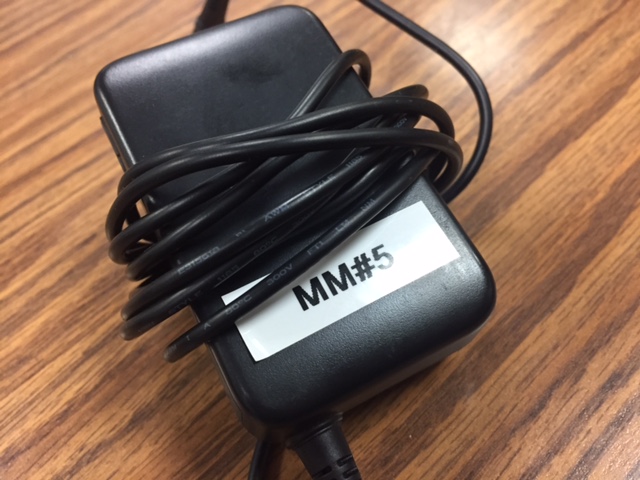
Charger
The camera comes with a charger. The charger plugs into the right side of the camera, near the hand strap.
The camera charge lasts about two hours. So if you’re shooting for a prolonged time, you need to make sure both the batteries are charged.

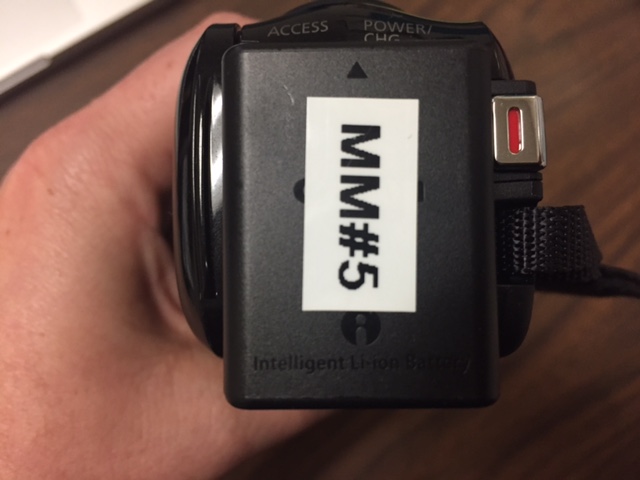
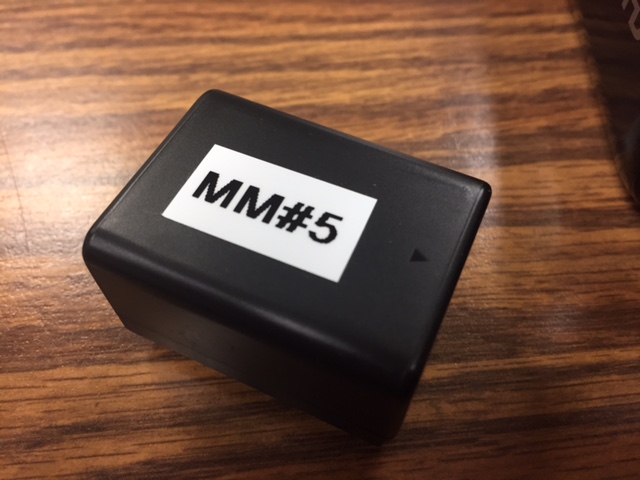
Batteries
The main battery will be attached to the camera. An extra battery will also be included in the bag.
The batteries should be charged before you head out to an assignment. If you are heading out immediately, make sure the battery IS charged before you take the camera.
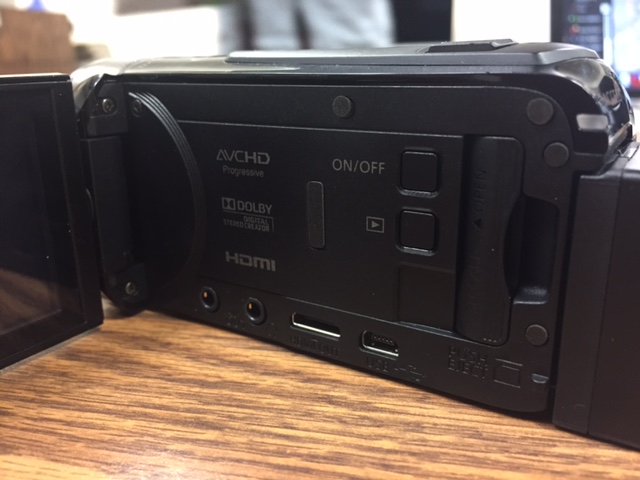
Control Panel
The Canon Vixia video camera has a “hard” control panel. It also has a touch-screen control panel for fine-tuning video footage.
The hard panel includes the power button, the microphone and headphone hookups and the insertion slot for the SD card.
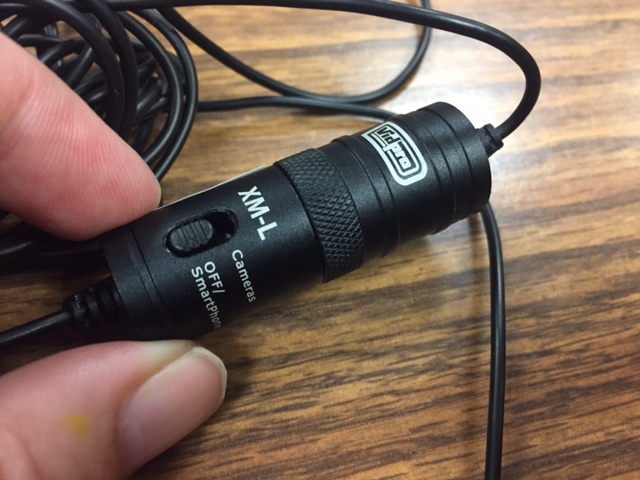
Microphone
While not part of the camera, a lavaliere microphone comes with the camera kit.
The lavaliere has two modes: “Phone/Off” and “Camera.” It takes a small pancake battery.
The battery in this will run down if you leave the microphone in the “on” position.
Please put the microphone into the “Phone/Off” position immediately after finishing your interview.